How to Pump with Sore Nipples
Mommy Care Team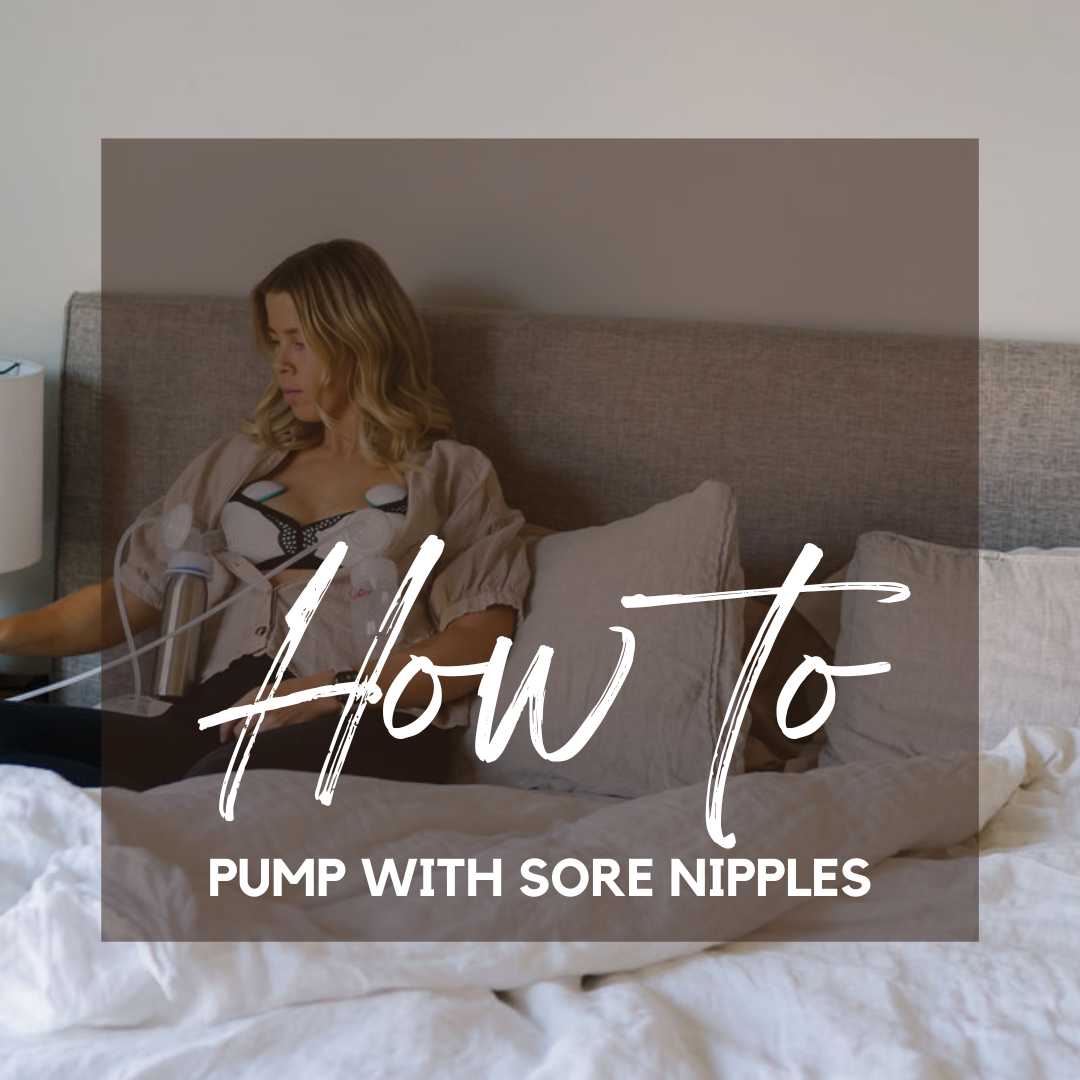
A Step by Step Guide to Save Your Pumping Journey
You’ve made an important decision to pump for your baby. Your goal is to give him or her as much nourishment as you possibly can during these formative developmental stages. This is no small decision. If pain has you questioning this choice, we’re here to help with a step by step guide for pumping with sore nipples.
This guide will help you in two distinct ways: First, we’ll help you troubleshoot the problem and second we’ll help you heal and restore your nipple tissue. Follow the steps below and you’ll be able to keep on pumping, maybe even pump in comfort!

Step 1: Examine Your Nipple Tissue
Look for swelling, open sores, or friction blisters. Identifying the source of the pain can help you accurately resolve its cause. If the pain is on one side of your nipple, you might be able to focus on better alignment. If the pain is your general or overall nipple, you might need to adjust the size of you flange or the level of suction.
Milk Blebs:
Milk blebs are blocked or clogged nipple pores. It’s kind of like a pimple on your nipple but worse. Often the suction of the pump can help to clear the clog. Try not to “pop” it. Keep the area washed. Apply heat and use gentle massage to try to clear the clog away. We’ve got a whole post on these painful little buggers here.
Infected Pores:
Often these start as blocked pores that then become infected. Infected pores are no joke. Literally they can be quite painful and should be taken seriously. This doesn’t mean you need to stop pumping, or throw out your expressed milk. But you should treat the infection and consider seeking medical care.
Friction Blisters:
These are pretty much exactly as they sound. When using a flange that is the wrong size, your sensitive tissue can rub against the dry hard plastic of your breast pump flange. These look very similar to clogged or blocked nipple pores.
Cracked Nipples
Over time your skin may crack and even bleed if the issue is not resolved. It sounds scary. But it can be solved by making some adjustments to your pumping routine and you can continue to pump as the issue is resolved.

Step 2: Evaluate Your Pump Parts
Using old parts and/or accessories that are at the end or past the end of their life cycle can cause pain or damage to your sensitive tissue. Most pump parts and accessories are meant to be replaced over time.
Tubing
The quality of your tubing generally doesn’t have a direct impact on your nipple tissue health. Keeping it clean and in good condition can help to preserve your milk making each pump session worthwhile. You should be able to see through your tubing and it should be free from cracks, condensation, and built up deposits of milk.
Membranes
Your membranes don’t come into contact with your skin but they do affect the quality of a pump session. As you pump, membranes wear out. Weak membranes affect the suction of your pump. You might end up pumping longer with weak membranes which can impact your nipple tissue. Replacement frequency for membranes and valves can vary based on your type of pump and how often you pump. Consult your pump manufacturer for guidelines.
Cushions
BeauGen Breast Pump Cushions are a life save for your nipples. As magical as our cushions are, they do need to be replaced. The frequency for replacing your cushions varies depending on how often you pump and for how long. Check your cushions for signs of wear such as small tears, thinning, or weak spots. Never cut the tunnel of your cushions. Not replacing your cushions can create more friction or trauma for skin as tears and cracks create more edges for skin to rub against. Consult this post for more information.
Step 3: Check Your Fit
Flange fit can be a somewhat murky topic. Breast pumps often come with two of the most common flange sizes leaving moms to assume that they are one or the other. However there is a much broader range of sizes. Using the wrong size flange can cause swelling and pain.
If you are experiencing pain, measure yourself. Even if you have been professionally fit for your flanges. Swelling may mean that you need to go up a flange size until you can resolve the source of your pain. As the swelling decreases, you’ll want to remeasure to maintain an accurate flange size. Remember, if you’re between flange sizes, our innovative cushions can help not only resolve friction but achieve an accurate and comfortable fit with your flanges.
We offer a free sizing guide and downloadable ruler to help you measure your nipples throughout your pumping journey.

Step 4: Cushions, Cushions, Cushions
We can’t put together a post on healing your nipples and saving your pumping journey without talking about our cushions. After all, over 100,000 pumping journeys have been positively impacted by our product. BeauGen Breast Pump Cushions help in a number of ways.
Friction
Are you getting friction blisters? Do you have red, raw nipple tissue after pumping? Is the hard plastic corner of your flange wearing against your sensitive skin? BeauGen cushions act as a protective barrier for your nipple tissue.
Alignment
Proper alignment can sometimes resolve friction. But alignment can be a bit tricky. Our clear cushions fit directly over your nipple to keep them more centered inside of your breast pump flange tunnel. This also keeps your nipple pores clear and open and allow milk to flow down into your collection bottles.
Step 5: Cleanliness
To properly heal any wound or sore, you first need to keep it clean. Be sure to not only wash your affected skin but also keep your pump parts clean. Those that can be sterilized should be. The rest should be washed in fresh warm soapy water. Keep your pump parts clear of food particles by washing them in a separate basin or bin.
Your baby has natural bacteria in their mouths. If you nurse in between pump sessions, you may want to clean your nipple tissue off in between feedings.

Step 6: Take Care of Yourself
Most of this step by step guide is focused on helping you trouble shoot the pump to find and fix the cause of the pain. However, you need to take care of yourself too. Warm damp heat can also help to alleviate pain and swelling. Hot showers and warm compresses go a long way towards alleviating the pain and selling that come with some of these conditions like blocked pores.
Step 7: Salve-ation
Using a restorative salve like coconut oil can help to restore skin to its healthy state faster. The hydration and natural germ fighting qualities of coconut oil make it a great option. You can also use this food safe salve while you pump to help further prevent pain from friction. Babies don’t seem to mind it either! Check out our post on lubricants.
Bookmark this page so that you can come back to this helpful step by step process to save your pumping journey from pain again in the future. Or share it with a friend who is pumping! There is no reason anyone should have to pump in pain and we’re on a mission to tell the world!